Nov 21, 2012

Android 4.2: Developer Options

If you try to build your own Android applications, you have to enable "Developer Options" on your device. After upgrading my Nexus 7 to Android 4.2 there is no entry "Developer Options" inside the settings menu. Google has hidden this entry in order to do not confuse normal users...
This is the way to enable Developer Options (again):
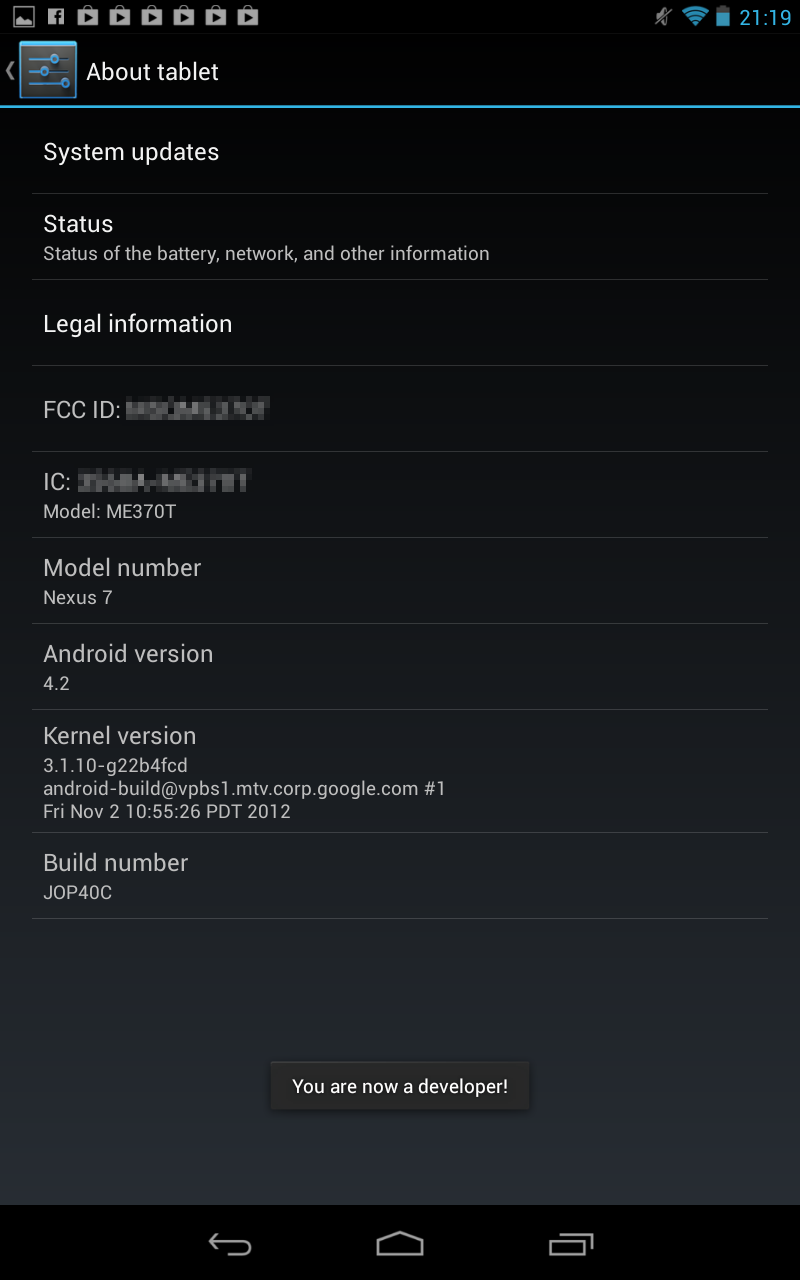
go to settings->about tablet
tap 7 times on "build number"

After four times you will see:

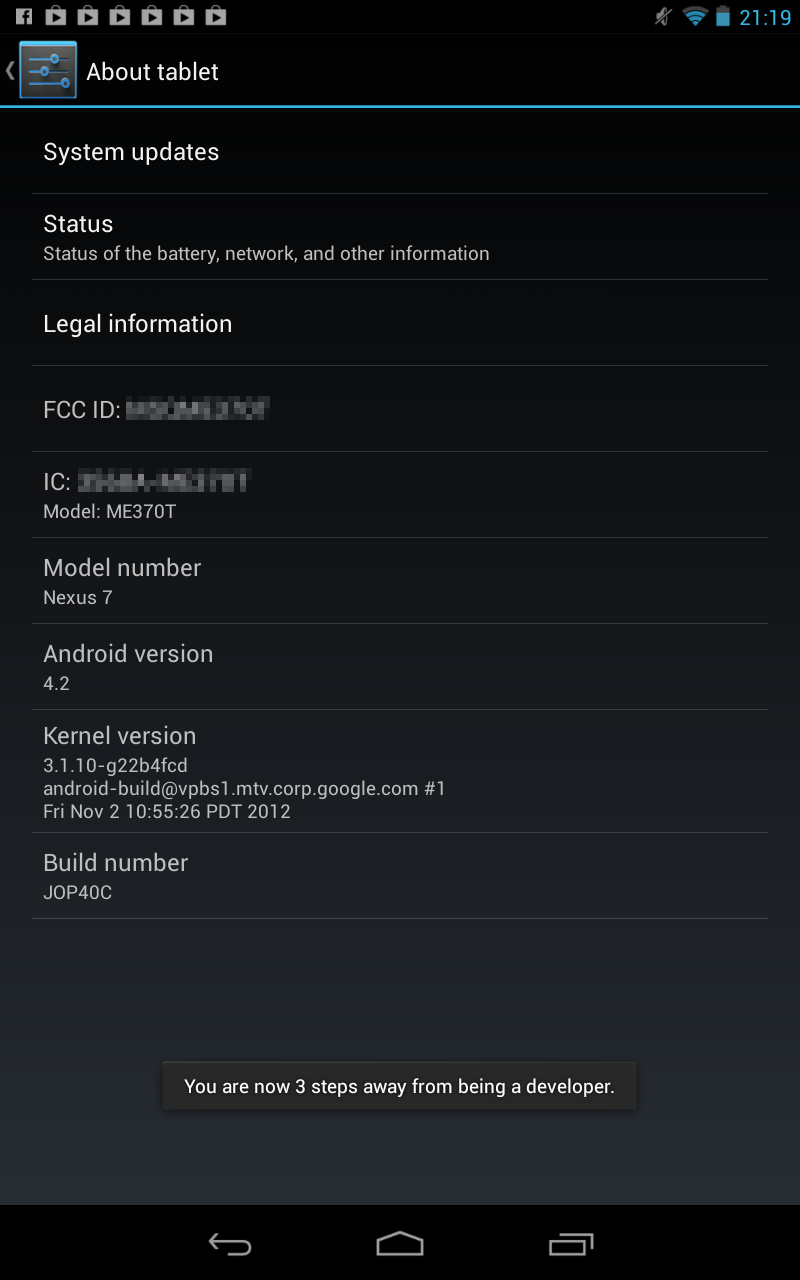
and after seven times:

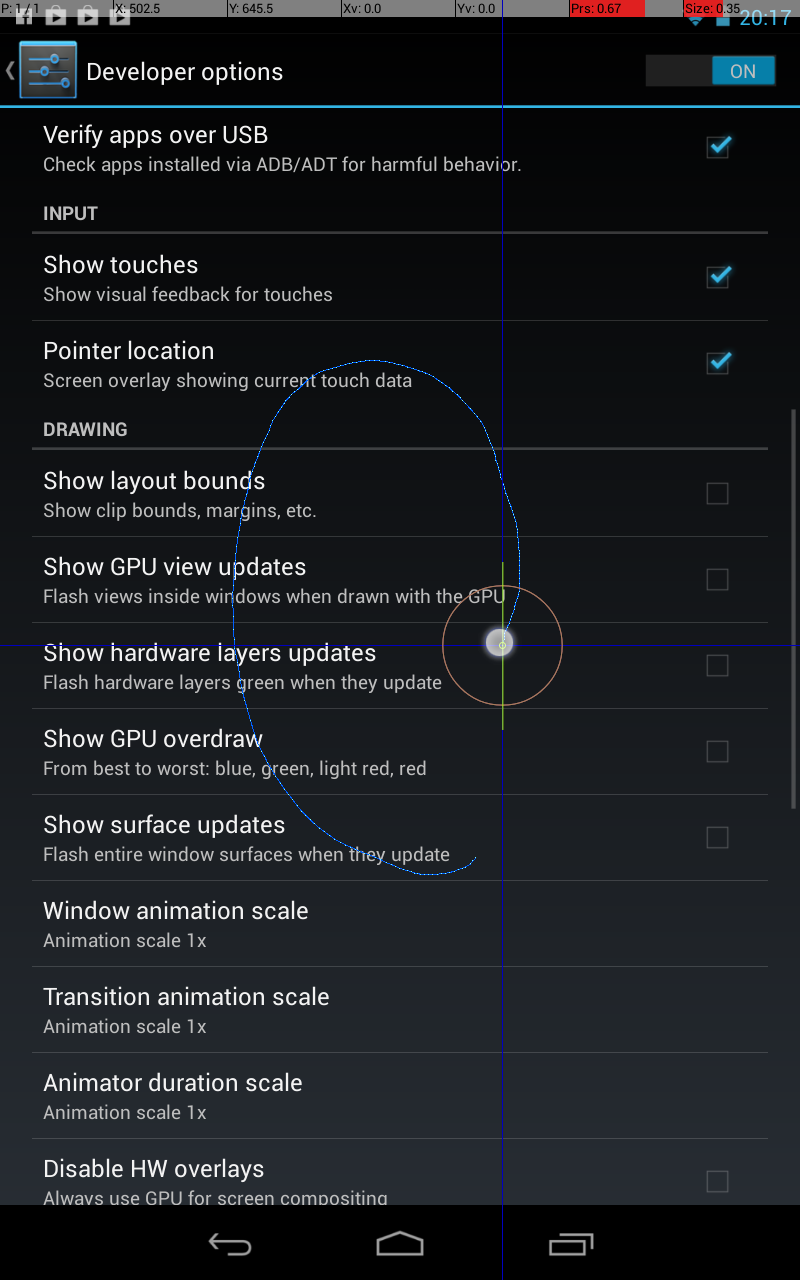
Now you can enable "show touches" and "pointer location" and get the following:

Nov 19, 2012

Android: Running my first application on my Nexus 7

After running the android application in an emulator, it is time to install the application on a real device. If you want to install the application on your Nexus 7, you have to follow this steps:
  • put your Nexus 7 in USB debugging mode
    (Settings -> Developer Options {} -> USB debugging)
    (Android version >4.1 you have to use this instruction)
  • change USB mode to PTP
    (take a look here to do this)
  • check connectivity with adb command:
    schroff@hades:$ ./adb devices
    List of devices attached
    0XXXXXXXXXXXXX        device

    schroff@hades:$

After this: start eclipse and open your project (how to create a project look here) and change "run"->"run configurations" -> "target" to "Always prompt to pick device":
and after hitting run:
Now on the Nexus 7 the icon appeared:
and the app started like in the emulator:

Nov 16, 2012

Android: Building my first app (on windows 7)

After hitting the error:
X Error of failed request: BadRequest (....)
on debian linux, i decided to give windows 7 a try:
Everything from step 1 to 24 (look here) of my posting was the same. But then i got:

and after some seconds the emulator was initiliazed:

And my first application is there: MainActivity (second from bottom, left lane). A double click started the application:

So next step is, to run this application on my nexus 7....

Nov 15, 2012

Android: Building my first app (on debian linux)

To build my first app, i followed the tutorial given by developer.android.com. (before you can start, you have to set up your developement tools)
  1. Start eclipse
  2. type CTRL-N
  3.  
  4.  
  5.  
  6.  
  7.  
  8.  
  9.  

  10. And after hitting finish, eclipse looked like this:
  11. At this point the tutorial recommends to look at some files and directories (look http://developer.android.com/training/basics/firstapp/running-app.html), but here i will skip this and go straight to running my app
  12. To run inside an emulator click on the Virtual Device Manager (eclipse):

  13. So i tried to build a new virtual device:
  14. But this failed with:
    [2012-11-08 20:23:12 - SDK Manager] Unable to find a 'userdata.img' file for ABI armeabi to copy into the AVD folder.
  15. Therefor this link gave a solution:
    Click on Android SDK Manager
  16. After the successful installation, the drop down "CPU/ABI" showed some content:
  17. Now the virtual device is there....
  18. But choosing start i got this error:

Ok. No direct rendering enabled on my debian laptop....
So after running though all this steps, my summary is:

  • Looks quite good.
  • Before you start, you should use the Android SDK Manager
    (eclipse --> Window --> Android SDK Manager)
  • Do not use a linux device without direct rendering